Please note: due to global color settings, I am changing the color of the navigation bar, etc, which will change this webpage AFTER I did the assignment, so I am inserting images of my assignment immediately below this note. The original webpage is below the images.
Pond Biology for K-5
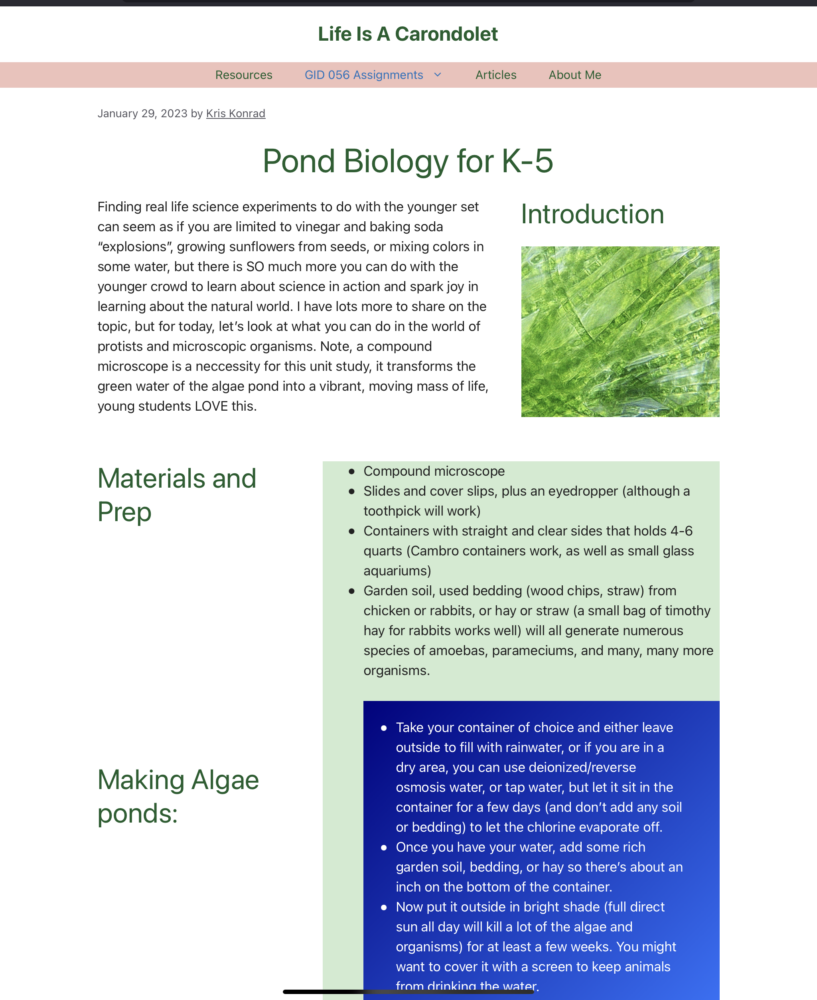
Finding real life science experiments to do with the younger set can seem as if you are limited to vinegar and baking soda “explosions”, growing sunflowers from seeds, or mixing colors in some water, but there is SO much more you can do with the younger crowd to learn about science in action and spark joy in learning about the natural world. I have lots more to share on the topic, but for today, let’s look at what you can do in the world of protists and microscopic organisms. Note, a compound microscope is a neccessity for this unit study, it transforms the green water of the algae pond into a vibrant, moving mass of life, young students LOVE this.
Introduction
Materials and Prep
Making Algae ponds:
- Compound microscope
- Slides and cover slips, plus an eyedropper (although a toothpick will work)
- Containers with straight and clear sides that holds 4-6 quarts (Cambro containers work, as well as small glass aquariums)
- Garden soil, used bedding (wood chips, straw) from chicken or rabbits, or hay or straw (a small bag of timothy hay for rabbits works well) will all generate numerous species of amoebas, parameciums, and many, many more organisms.
- Take your container of choice and either leave outside to fill with rainwater, or if you are in a dry area, you can use deionized/reverse osmosis water, or tap water, but let it sit in the container for a few days (and don’t add any soil or bedding) to let the chlorine evaporate off.
- Once you have your water, add some rich garden soil, bedding, or hay so there’s about an inch on the bottom of the container.
- Now put it outside in bright shade (full direct sun all day will kill a lot of the algae and organisms) for at least a few weeks. You might want to cover it with a screen to keep animals from drinking the water.
One of the fundamental questions of Biology is “How do we determine if something is alive? How do we define life?” It is important to expose younger students to these Big Questions to spark curiosity and interest, but also to show that scientists deal with tough questions that don’t have easy answers sometimes.
You can start with “what is alive in this room”? Younger students will mention themselves, any pets or plants in the room, but encourage them by asking about the air in the room, any organisms on their skin/inside their bodies, or if you’re outside, in the soil. If someone mentions rocks, or wood, ask them why they think it is alive, and leave it an open question if they don’t hit on the general definition of being alive, namely, need to ingest food for energy, reproduction, and responding to their environment.
Open with the question “what is alive?”
Bring out your Algae Pond
When the discussion has reached its limit, it is time to bring out your “algae ponds”. Give the kids hand lenses and flashlights to look at the ponds. You can also give them some test tubes and glass jars with water in them, and challenge the kids to try and figure out what it is about a magnifying lens that magnifies. You’ll get some good guesses (the water, the clear glass), but then show them the glass jar with square and flat sides (and doesn’t magnify) and you might get a “the roundness of the glass!”, which is on the right track. More about microscopes and stereoscopes as we go on…
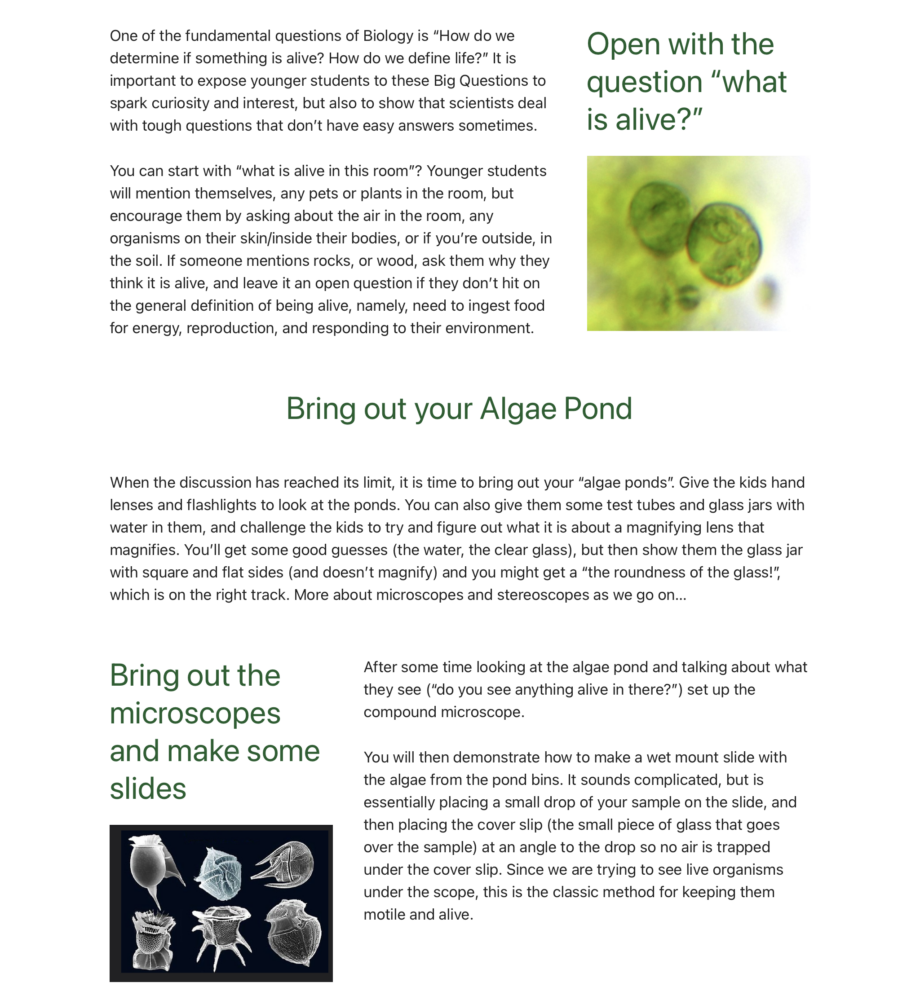
Bring out the microscopes and make some slides

After some time looking at the algae pond and talking about what they see (“do you see anything alive in there?”) set up the compound microscope.
You will then demonstrate how to make a wet mount slide with the algae from the pond bins. It sounds complicated, but is essentially placing a small drop of your sample on the slide, and then placing the cover slip (the small piece of glass that goes over the sample) at an angle to the drop so no air is trapped under the cover slip. Since we are trying to see live organisms under the scope, this is the classic method for keeping them motile and alive.
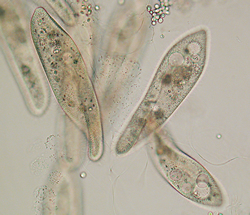
Our compound microscope is hooked up a big monitor so everyone can see the action but if you have more than a few kids, you will need to come up with a system to ensure that everyone has a turn with the mechanical stage and focus knobs. The first time I did this unit with a co-op, everyone saw a paramecium moving across the screen in the middle of the algae and shrieked in excitement! So exciting!
— So now it is a matter of making multiple slides (it is the luck of the draw, so you will want to do at least 5 slides) and looking and waiting. You will discover that microorganisms can move very quickly and trying to keep up with them with the stage knobs is very difficult – they do not stay still.
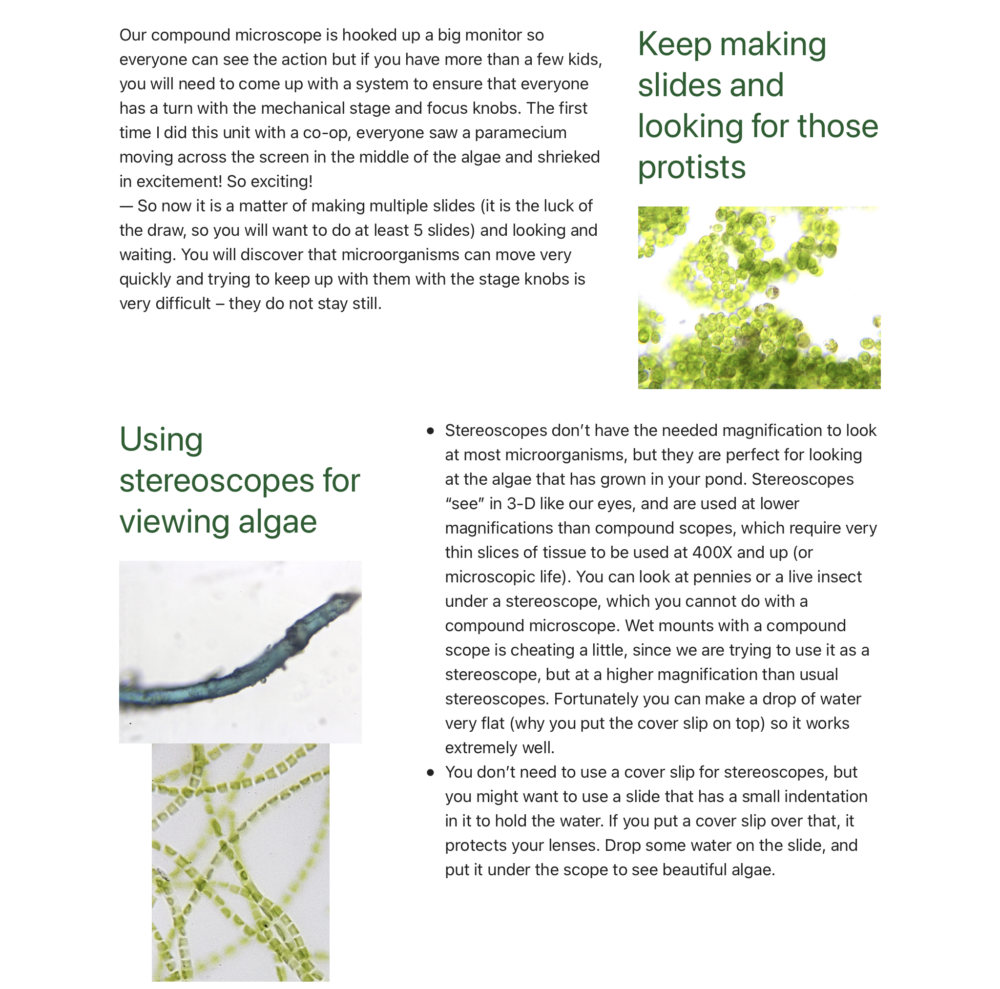
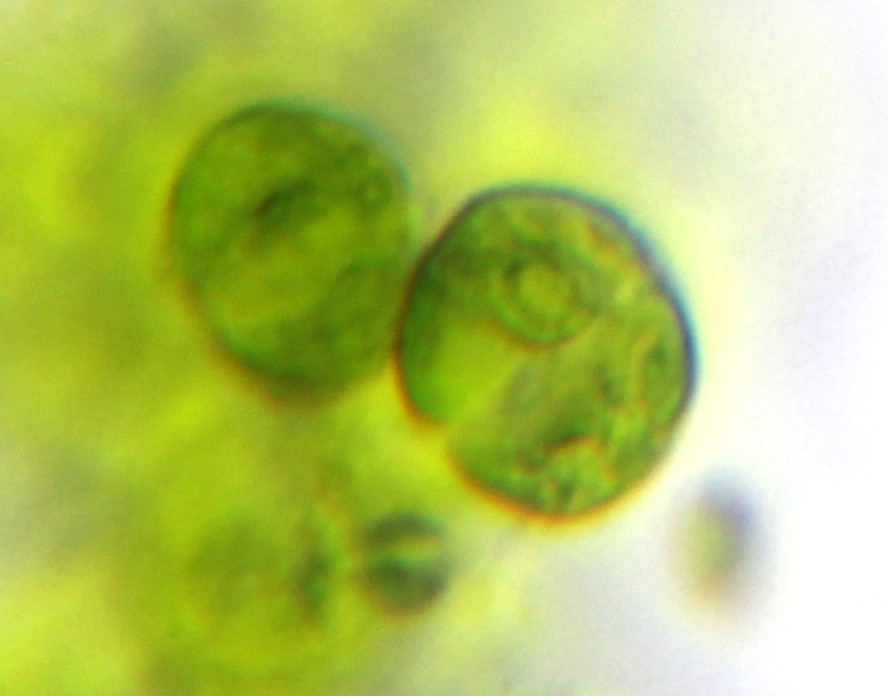
Keep making slides and looking for those protists

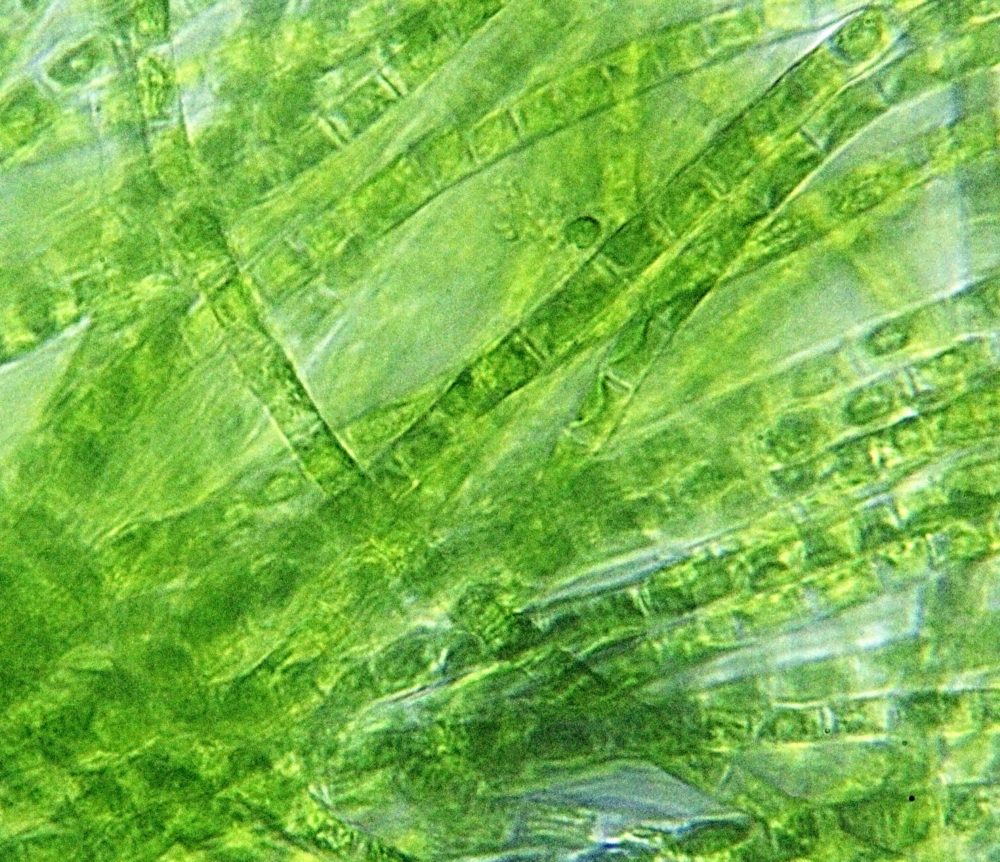
Using stereoscopes for viewing algae
- Stereoscopes don’t have the needed magnification to look at most microorganisms, but they are perfect for looking at the algae that has grown in your pond. Stereoscopes “see” in 3-D like our eyes, and are used at lower magnifications than compound scopes, which require very thin slices of tissue to be used at 400X and up (or microscopic life). You can look at pennies or a live insect under a stereoscope, which you cannot do with a compound microscope. Wet mounts with a compound scope is cheating a little, since we are trying to use it as a stereoscope, but at a higher magnification than usual stereoscopes. Fortunately you can make a drop of water very flat (why you put the cover slip on top) so it works extremely well.
- You don’t need to use a cover slip for stereoscopes, but you might want to use a slide that has a small indentation in it to hold the water. If you put a cover slip over that, it protects your lenses. Drop some water on the slide, and put it under the scope to see beautiful algae.
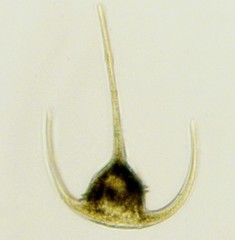
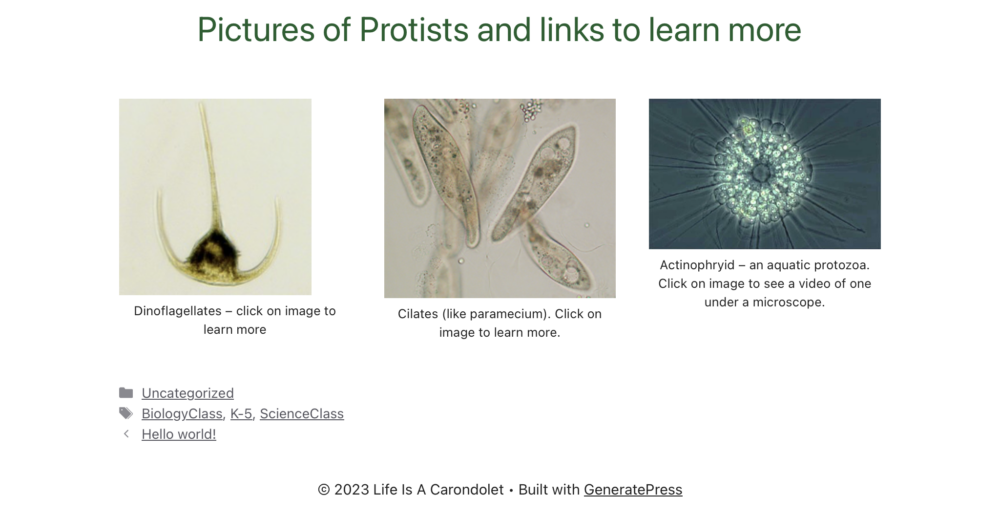
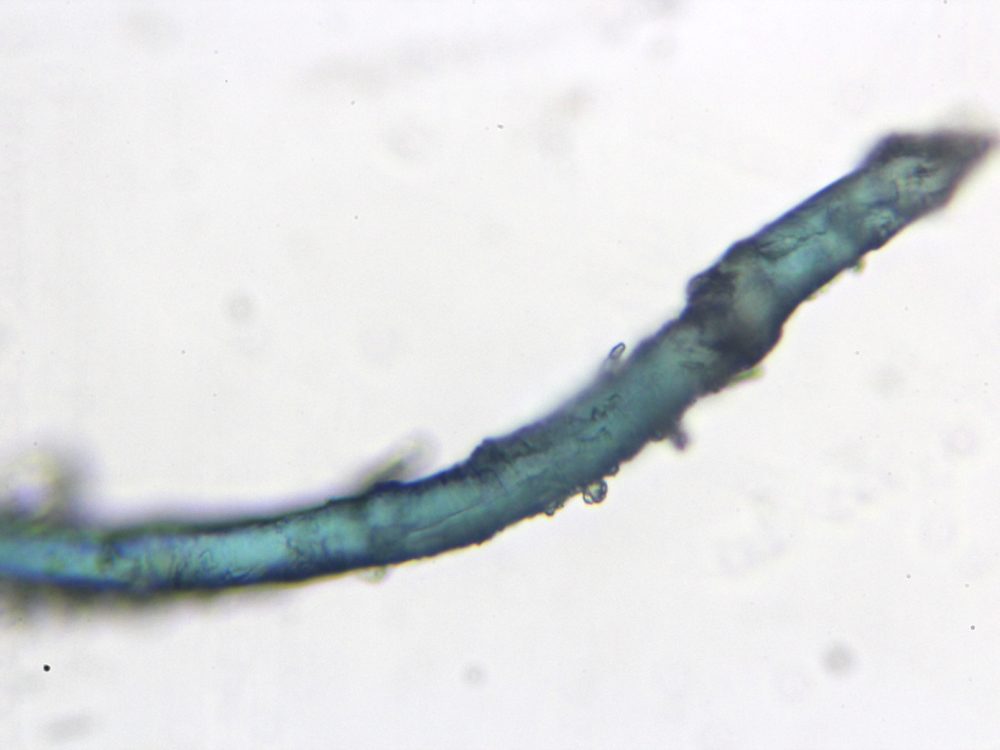
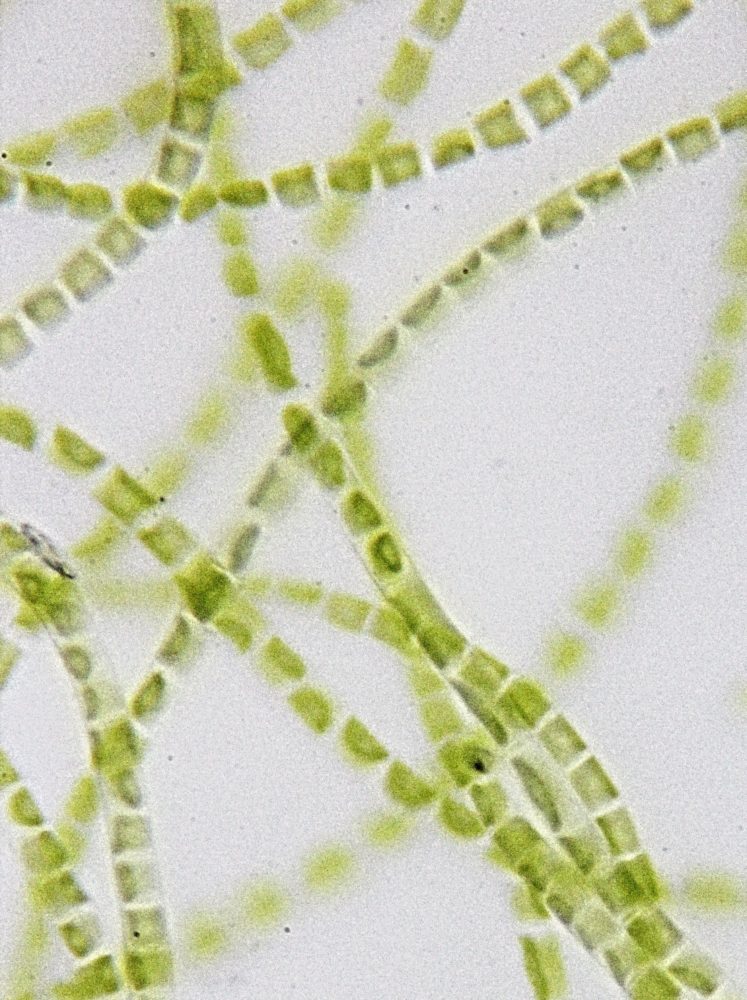
Pictures of Protists and links to learn more